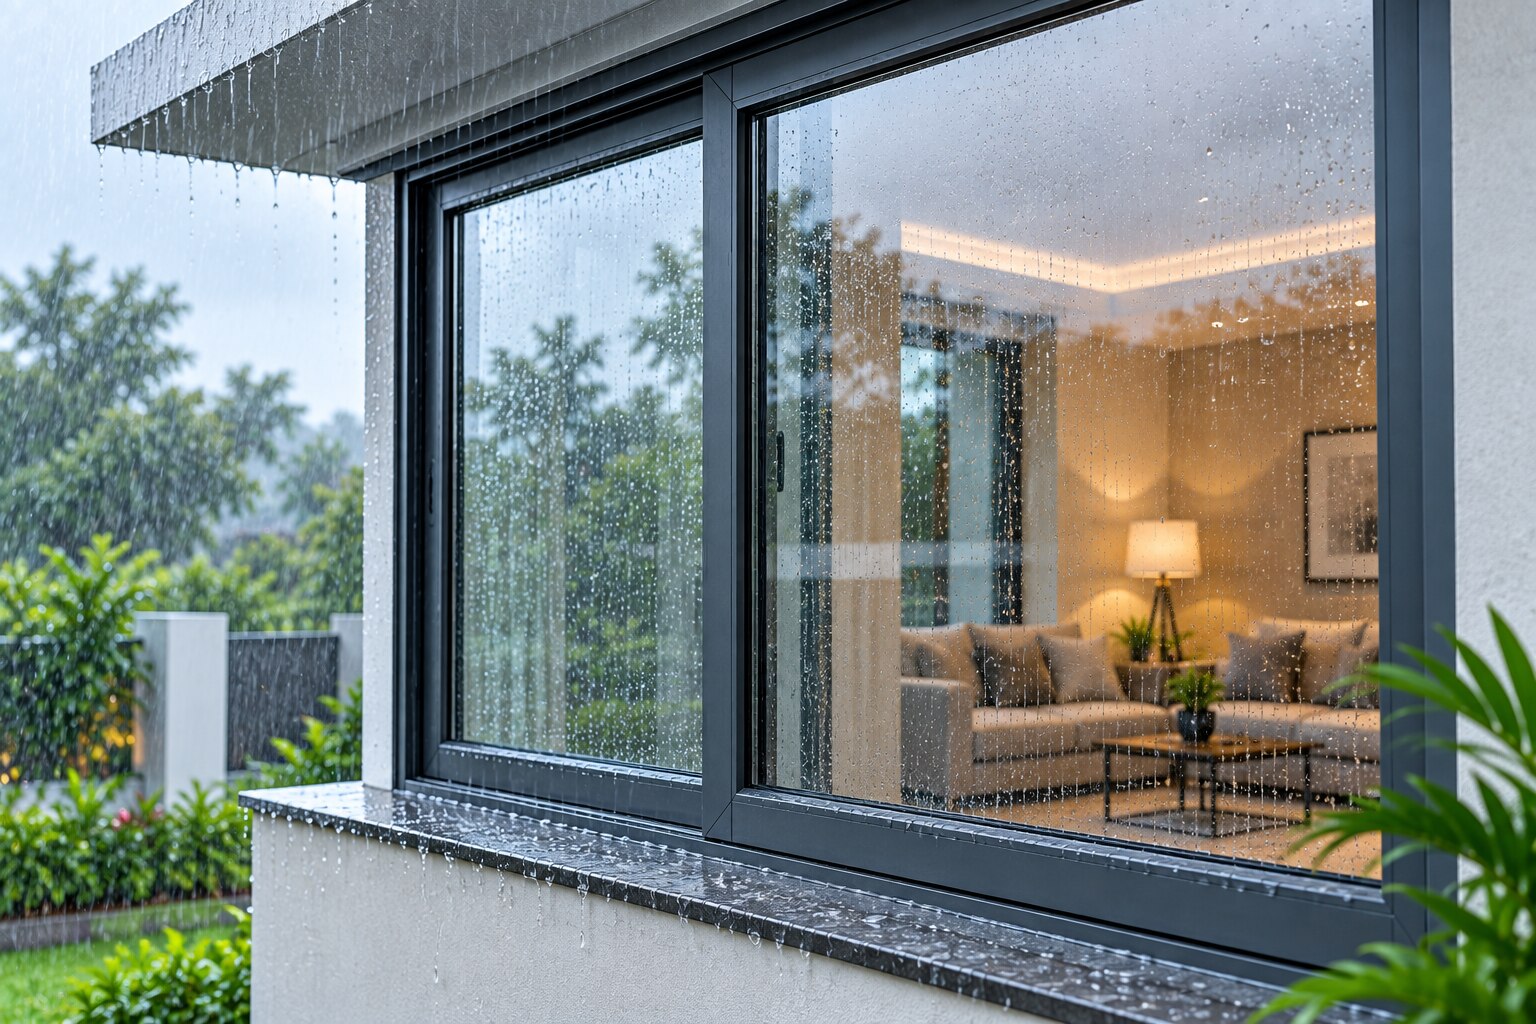
A window labelled “waterproof” can still leak if its drainage path, wall joint, sill detail or installation is wrong. By checking the tested performance, physical components, opening design, site conditions, installation plan and quotation line by line, you can choose a window that suits your property rather than relying on a sales term.
Key takeaways
- Ask for whole-window water-test results, not a “waterproof” label.
- Inspect gaskets, glass seals, sill slopes, drainage paths and locking pressure.
- Choose opening styles based on wall conditions, wind-driven rain and room use.
- Get installation details and line-by-line quotations before placing your order.
Start with the water-performance claim, not the word waterproof
A credible water-performance claim states how the complete window resisted water, not simply that it is “waterproof.” For operable waterproof windows, performance depends on the frame, sash, glass seals, gaskets, drainage paths, sill and locking pressure working together.
Water-resistant versus weatherproof is a marketing distinction unless the supplier names a test method, water-pressure rating and tested configuration.
| Standard or claim | What it tells you | How to compare |
|---|---|---|
| EN 12208 | Water-tightness class from the EN 1027 water-tightness test | Compare the same class, window size and opening arrangement |
| ASTM E331 | Laboratory water-penetration test under controlled spray and pressure | Compare test pressure and the complete assembly tested |
| Water-pressure rating | Pressure reached before water entered the room | A higher rating indicates stronger resistance, but only for that tested design |
Ask for the report showing the complete window size, fixed and opening sashes, pressure reached and leakage result. Do not compare an EN 12208 class with an ASTM E331 result as though they were identical grades; compare the pressure and configuration behind each claim.
A factory rating also does not guarantee a poorly sealed wall joint or incorrect installation.
Inspect the parts that control water entry
Look for a drainage route, not a frame that merely feels tightly sealed: rain crossing the outer seal must enter drainage channels, move to outward-facing or downward-facing weep holes, and leave before reaching the room. An outward-sloped sill and sill pan prevent water from ponding against the frame or migrating into the wall.
| Component | What to inspect | Failure sign |
|---|---|---|
| Outward-sloped sill and sill pan | Continuous fall outward; firm support beneath the sill | Standing water or dampness below the frame |
| Sealed frame joints | Tight, continuous joints at corners and mullions | Water marks at frame corners |
| EPDM gaskets, silicone gaskets | Unbroken, flexible seals with even contact | Gaps, hardening or flattened sections |
| Drainage channels and weep holes | Clear channels; outlets open and uncovered | Water trapped inside the outer frame |
| Multi-point locks | Lock points pull the sash evenly against its seals | Uneven compression or a loose closing edge |
Ask for the installation detail, not only the uPVC profile. It should show the sill support, flashing, wall-to-frame seal and head protection.
- Keep plaster, tile, paint and sealant away from weep holes.
- Do not run continuous sealant across designed drainage outlets.
- Confirm the wall finish sheds water outward rather than behind the frame.
Match the opening design to the wall, exposure and room
Choose the opening type by asking where water, wind and furniture will go. Sliding versus casement windows is not a simple quality contest: a slider suits a narrow balcony or passage because the sash stays within the frame, while a casement needs clearance outside or inside according to its opening direction.
| Option | Best fit | Check before choosing |
|---|---|---|
| Fixed | Large views, sealed corners, inaccessible areas | Confirm cleaning access and separate the fixed pane from opening sashes in the water test |
| Sliding | Balconies, corridors and compact rooms | Inspect track drainage, brush seals and sash overlap; blocked tracks turn heavy rain into an interior leak |
| Casement | Exposed walls and openings needing a tight seal | Check gasket compression, locking-point adjustment and the outward swing against walls, grills or walkways |
| Tilt-and-turn | Bedrooms and rooms needing controlled ventilation | Confirm inward clearance for curtains, furniture and mosquito screens |
For Pune, ask for the design wind and rain exposure assumptions, tested window size, opening type and hardware arrangement. An exposed upper-floor opening faces stronger wind-driven rain than a sheltered low-rise wall; glass thickness alone does not solve that difference.
Match the frame profile and glazing options to the opening size. Large fixed panes need separate scrutiny because deflection, long gasket runs and mullion details can exceed a small sample’s test conditions. A twisted or under-locked sash breaks the seal even with sound glass and gaskets.
Test the sample and verify the installation plan before ordering
A dry showroom sample proves almost nothing about water performance. Check how the complete assembly behaves, then obtain the fitting method in writing before you pay an advance.
1. Operate and lock the sample. Inspect gaskets, sash corners, tracks, drainage channels and outward-facing weep holes. Reject any hole covered by sealant, paint, plaster or tile.
2. Ask for a controlled water spray test on an installed window. ASTM E1105 applies water spray and pressure to a representative installed assembly; AAMA 501.2 is a field spray-nozzle procedure that helps locate gross leakage paths, not a substitute for a laboratory rating.
3. During or after spraying, inspect the room-side corners, tracks and interior sill for droplets, dampness or water pooling. Record the window size, configuration and test pressure; a result from a smaller fixed window does not validate a large sliding unit.
4. Require a fitting drawing showing frame anchoring, level and plumb installation, sill flashing, perimeter sealing and head protection. It must also show how the sill drains outward instead of trapping water against the wall.
5. Put installation responsibility in the quotation. Nutec International, like any supplier you consider, should state who installs, seals and retests the window, and who repairs leakage caused by the frame-to-wall joint.
Related product
 | UPVC Doors and Windows - *Space-saving*: Perfect for small rooms or tight spaces - *Low maintenance*: No painting or polishing needed - *Energy-efficient*: Keeps your home... View product → |
Compare systems, specifications and quotations line by line
A comparable quotation must show the complete window assembly, not just a profile brand or glass thickness. Use this comparison:
| System | Water, comfort and upkeep | Trade-offs |
|---|---|---|
| uPVC casement | Strong choice for low repair effort; tilt-and-turn windows add ventilation control and secure night ventilation | Confirm frame chambers, gasket continuity, welded corners and drainage paths |
| Aluminium windows | Slim frames, large maximum sash size and good security with suitable hardware grade | Thermal breaks, seals and installation quality affect indoor heat and water resistance |
| Timber windows | Repairable frames with natural appearance and good insulation | Require paint or coating maintenance; neglected joints increase repair effort and leakage risk |
Ask the supplier to quote each line separately:
- Opening type, frame and sash dimensions, maximum sash size, design wind and rain exposure, and the tested size.
- Glass make-up, glass thickness, setting blocks, glazing gaskets and drainage around the rebate.
- Hardware grade, number and position of locking points, handle type, and adjustment after installation.
- Frame chambers, sill slope, drainage outlets, sealant specification, installation-joint width and finishing method.
Compare uPVC casement quotations against identical assumptions. A higher chamber count does not prove water-tightness; gasket compression, hardware adjustment and the installation joint decide whether the window seals in service. Timber windows need coating renewal, while aluminium windows need thermal-break details checked rather than judged by appearance.
Protect the drainage system and separate window defects from wall defects
Clear sill drain slots and clean window seals during routine cleaning; dirt in external channels can hold water against the frame. Check gaskets for hardening, gaps or uneven compression, and remove any blocked weep holes without drilling new ones. Adding holes or removing gaskets during post-installation repairs can reduce the tested water resistance.
- Spray the closed window in controlled sections, starting at the sill and moving upward. Water appearing at the track, frame corner or interior sill during spray points to the window, its gasket, or the wall-to-frame seal.
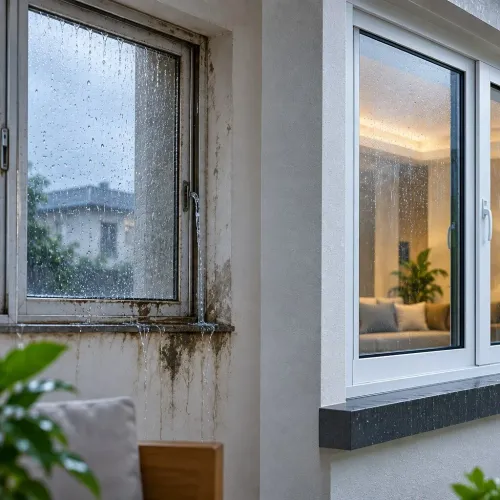
- If the window remains dry while water appears above the opening, beside it, or after rain reaches the facade, inspect cracked external plaster and the flashing or sill finish. Water can travel behind the frame before emerging indoors.
- Check sealant joints for gaps, separation and blocked drainage outlets. Continuous sealant across the sill can trap water instead of directing it outside.
Balcony waterproofing above or beside the opening can also feed a leak that looks like window failure. A sloping sill should discharge outward; if water stands against the frame, stop resealing and have the installation detail and surrounding building envelope inspected.
Frequently asked questions
What does a credible waterproof-window claim include?
It explains how the complete assembled window resisted water, including the frame, sash, glass seals, gaskets, sill, drainage paths and locking pressure.
Which window parts control water entry?
Inspect the gaskets, glass seals, frame joints, sill slope, drainage channels, weep holes and locks that create compression around the sash.
How should you choose an opening design for water resistance?
Match the design to the wall construction, exposure to wind-driven rain and room use. Check how the opening connects to the sill and surrounding waterproofing.
How can you separate a window defect from a wall defect?
Check whether water enters through the sash, frame joints or drainage paths, or travels around the installed frame through the reveal, sill or external seal.